

“I clean the lint screen every load. Isn’t that enough?”
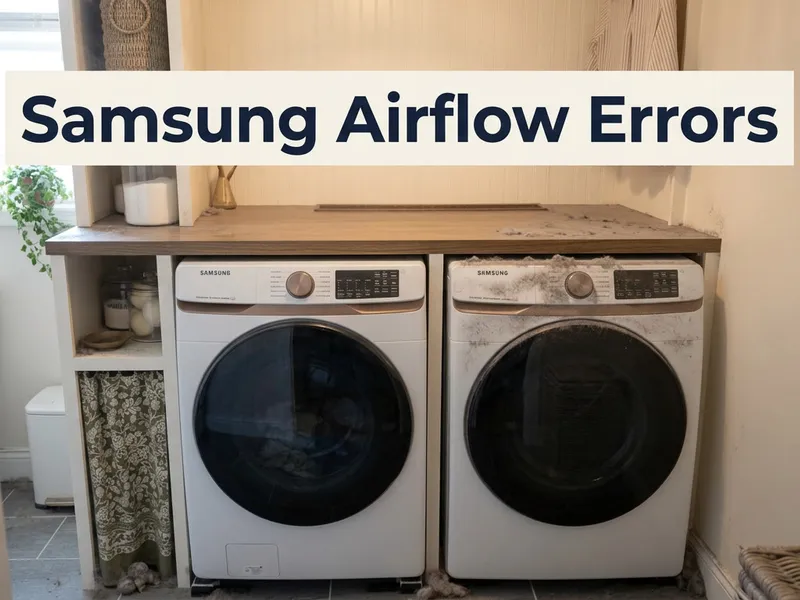
We hear that a lot. The screen is the right place to start, but the rest of the laundry room collects dust, lint, and detergent gunk too, and most of it sits where nobody looks. So here’s the routine we’d give a friend. One pass, once a month, about 30 minutes, in the order that makes sense when you’re standing in the room.
Later posts in this series go deeper on single pieces, starting with pet hair and the dryer. This one is the whole checklist.
Start with the room
Dust first, then wipe. Vacuum under and behind the washer and dryer as far as you can reach. That’s where stray lint ends up.
Then take a damp cloth to the countertops, the shelves, and the outside of both machines. For stubborn grime or a dried detergent spill, mix equal parts water and vinegar. Nothing fancy here. The point is to set the room right once a month so it never gets away from you.
Lint screen and moisture sensor bars
The lint screen is an every-load job. Pull it, clear it by hand or with the vacuum, and put it back. Never run the dryer without it.
Once a month, give it a real wash. Dryer sheets and fabric softener leave a wax film in the mesh that you can’t see, and it keeps warm air from getting out of the drum. Lint catches on the mesh and moisture binds it into a felt-like mat. Scrub both sides in the sink with warm water, a little dish soap, and a soft nylon brush. Then hold it under the tap. If the water pools on top instead of running straight through, keep scrubbing until it clears. Let it dry all the way before it goes back in, and while you wait, run the vacuum’s crevice tool down the slot the screen sits in.
Now the sensor bars. They’re two thin metal strips inside the drum, usually near the lint screen. Some dryers have them on the front wall, some on the back. They feel for moisture so the dryer knows when to quit.
Dryer-sheet residue coats them. Then the dryer thinks the load is dry and ends the cycle with your clothes still damp. If that’s been happening, look here first. Hair gets stuck in the bars too. If too much builds up it throws off the sensor, so pull it out, and use tweezers or needle-nose pliers for the strands your fingers can’t grab. Wipe the bars with a dry rag, or use a soft cloth with mild soap and dry them off with a towel. A little rubbing alcohol on a soft cloth works too.
Washer cleaning cycle and pump filter
Clean the washer once a month or every 30 loads. Do it sooner if the clean-washer light comes on or the machine starts to smell.
Before you start the cycle, wipe the spots it won’t reach well: behind the rubber gasket on a front loader, under the lid or door, and the detergent dispensers. Then drop a washer cleaner tablet in the drum, like the Active Washer Cleaner Tablets we recommend, and run the Clean Washer cycle. No such cycle? Use the highest water level and the hottest water. White vinegar and baking soda is another way to do the monthly wash if you’d rather skip the tablet.
Front loaders and combo units also have a drain pump filter. Top loaders don’t. Do this one before the cleaning cycle too. The filter sits behind a small panel at the lower front of the machine. Put a shallow pan and a rag down first. Pull the little drain hose out into the pan and take its plug out to let the water drain. Then turn the filter counter-clockwise to remove it. A bit more water will come out. Clear out the lint and whatever else has been hiding in there, like coins or a lost sock. Monthly is the right pace. If the washer drains slowly or shows an OE code, check it right away.
Between loads, leave the door or lid open so the drum can dry out.
Behind the machines
This part is a look, not a project. Grab a flashlight. Your cell phone camera works too: hold it down behind the machine like a periscope to see what you can’t reach, which is how I do it on service calls.
On the washer hoses, look for fraying, bubbling, or dampness around the connections. If a hose looks damaged, get it replaced soon, not next month.
On the dryer duct, look for kinks or spots where it’s squashed against the wall. The foil accordion kind crushes easily and grabs lint fast. One crushed bend can cut the airflow by more than half.
Leave the plug and the wiring alone. If something back there doesn’t look right and you’re not sure what it is, call us.
Glance at the vent cover outside
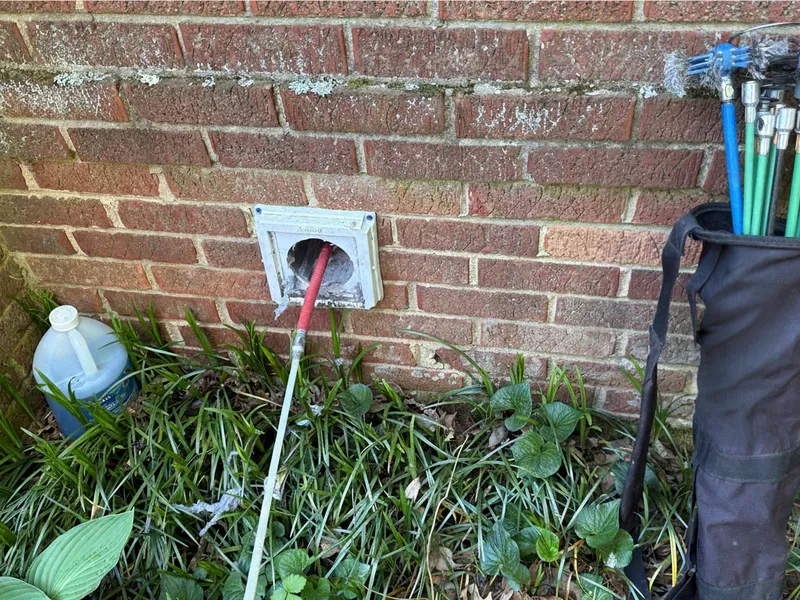
Last step, and you do it from the ground. Start the dryer on a high-heat cycle and walk outside to the vent cover. You should feel a strong, warm breeze and see the flap swing wide open.
If the flap doesn’t open, or only opens partway with weak air behind it, something is blocking the duct. Lint piled around the cover means the same thing.
Birds love dryer vents. They’re small, sheltered, up off the ground, and warm. If you see nesting material or hear chirping or scratching, stop using the dryer and call us. Don’t disturb an active nest. Nests are often protected until the cycle finishes, so removal has to be handled properly.
When to stop the dryer
Some things aren’t part of any checklist. If you smell burning during a cycle (not the normal warm-laundry smell), stop the dryer. Stop it if the outside of the drum or the clothes feel burning hot instead of warm, or if you see sparks. Don’t use it again until it’s been professionally checked. If it’s smoking heavily, call 911.
Don’t try to fix the dryer, the plug, or the wiring yourself. A dirty vent is how most dryer fires start, and a pro needs to look at it before it runs again.
What the reset can’t reach
Your monthly half hour keeps the room and the machines in good shape. It can’t reach inside the vent run in the wall. Lint builds up in there over years, not months, and that’s the part professional dryer vent cleaning reaches. Most houses need it every 2 years. Go yearly if you have pets or run a lot of laundry.
We clean dryer vents and repair vent covers in Greensboro, High Point, and most of the Triad. Schedule Online when it’s convenient for you.
Call 336-899-8001.